To connect on Apple laptops, please follow the steps below.
Note: Due to differences between macOS versions, the images may look slightly different from what you see on your laptop. However, the settings and steps are generally the same on all Apple laptops.
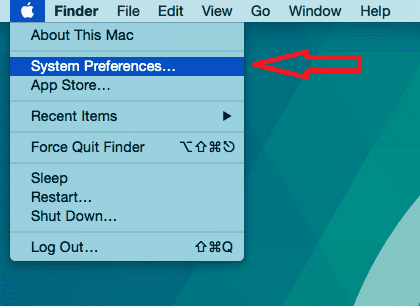
Step 1: As shown in the image below, click on the Apple icon in the top corner of the screen, then select System Preferences from the menu.
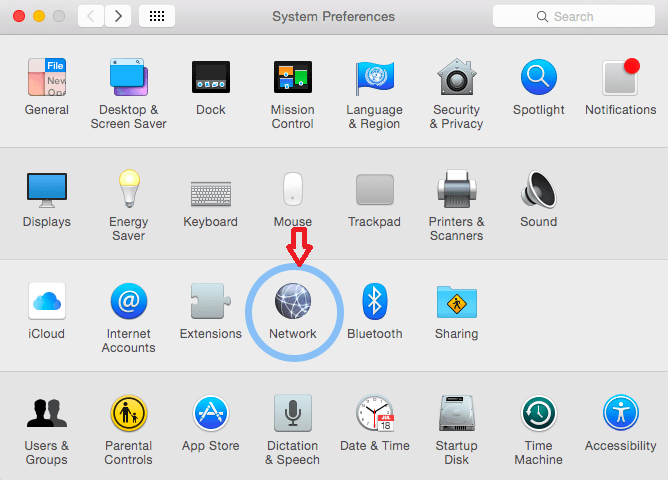
Step 2: Click on the Network icon.
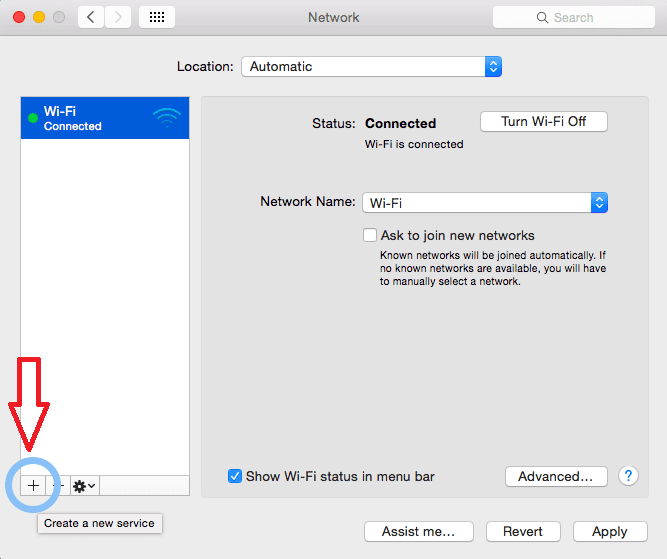
Step 3: Click the (+) button in the bottom-left corner of the window.
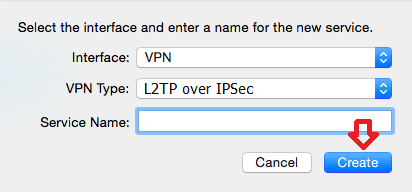
Step 4: As shown in the image below, set Interface to VPN and VPN Type to L2TP over IPsec. In the Service Name field, enter vpn-iran.com, then click Create.
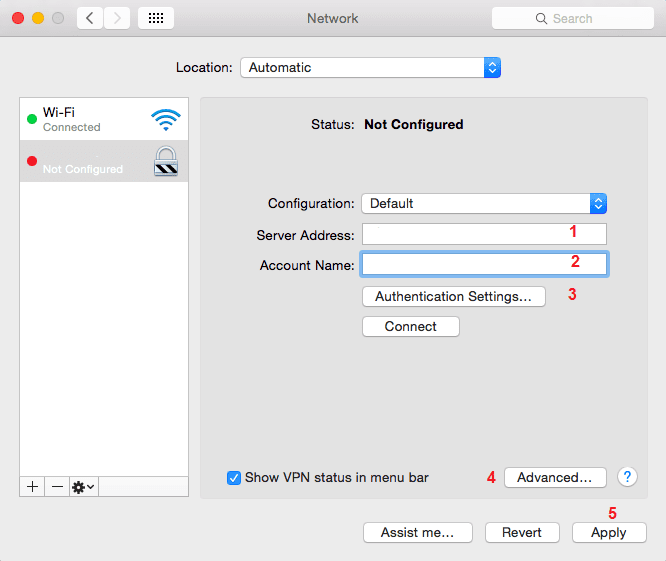
Step 5: Configure the settings according to the numbered sections in the image below:
1: Enter one of the following server addresses:
Server Address 1: 78.157.57.92
Server Address 2: 78.157.57.93
Financial Account Server Address:
2: In the Account Name field, enter the username you received from the store.
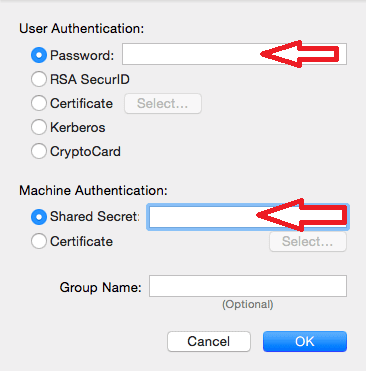
3: Click Authentication Settings.
In the Password field, enter the password provided by the store, then enter 12345678 in the Shared Secret field and click OK.
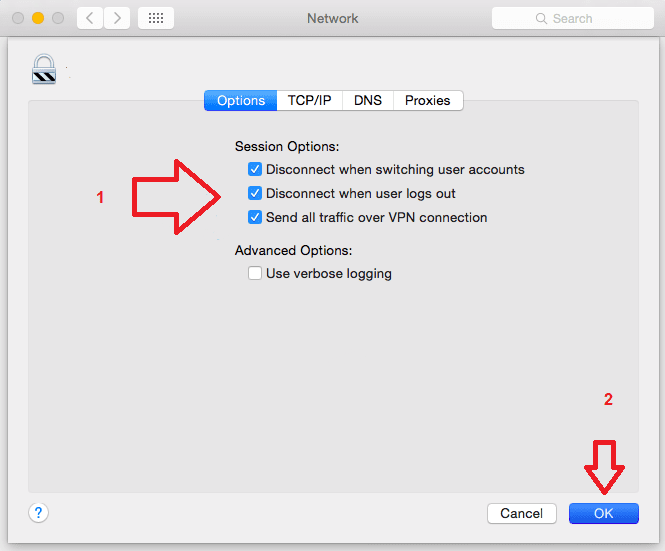
4: Click Advanced, check Send all traffic over VPN connection, then click OK.
5: Click Apply.
Important: Please make sure to enter all required information including server addresses, Shared Secret, username, and password using English letters and numbers only.
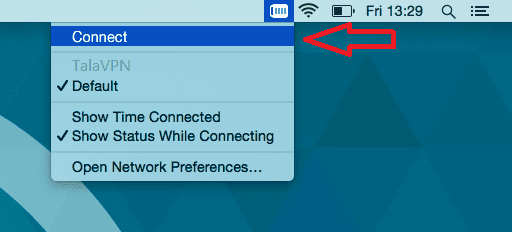
Step 6: As shown in the image below, connect using the VPN connection you created. You can now start using your service.