After purchasing an account, first download the OpenConnect application for Windows from the link below:
Then, follow the installation and connection steps for OpenConnect on Windows step-by-step according to the guide below:
Step One: After downloading the file, open it and click Next.

Step Two: Click on the I Agree button.

Step Three: In the window that opens, select the first option, then check the Create OpenConnect Desktop Icon box and click Next.

Step Four: Click on the Next option.

Step Five: Click on the Next option.

Step Six: Check the boxes as shown in the example below and click Install.

Step Seven: After the installation is complete, click Finish.

Step Eight: After the program opens, click on the gear icon as shown in the image below and select the New Profile (advanced) option.

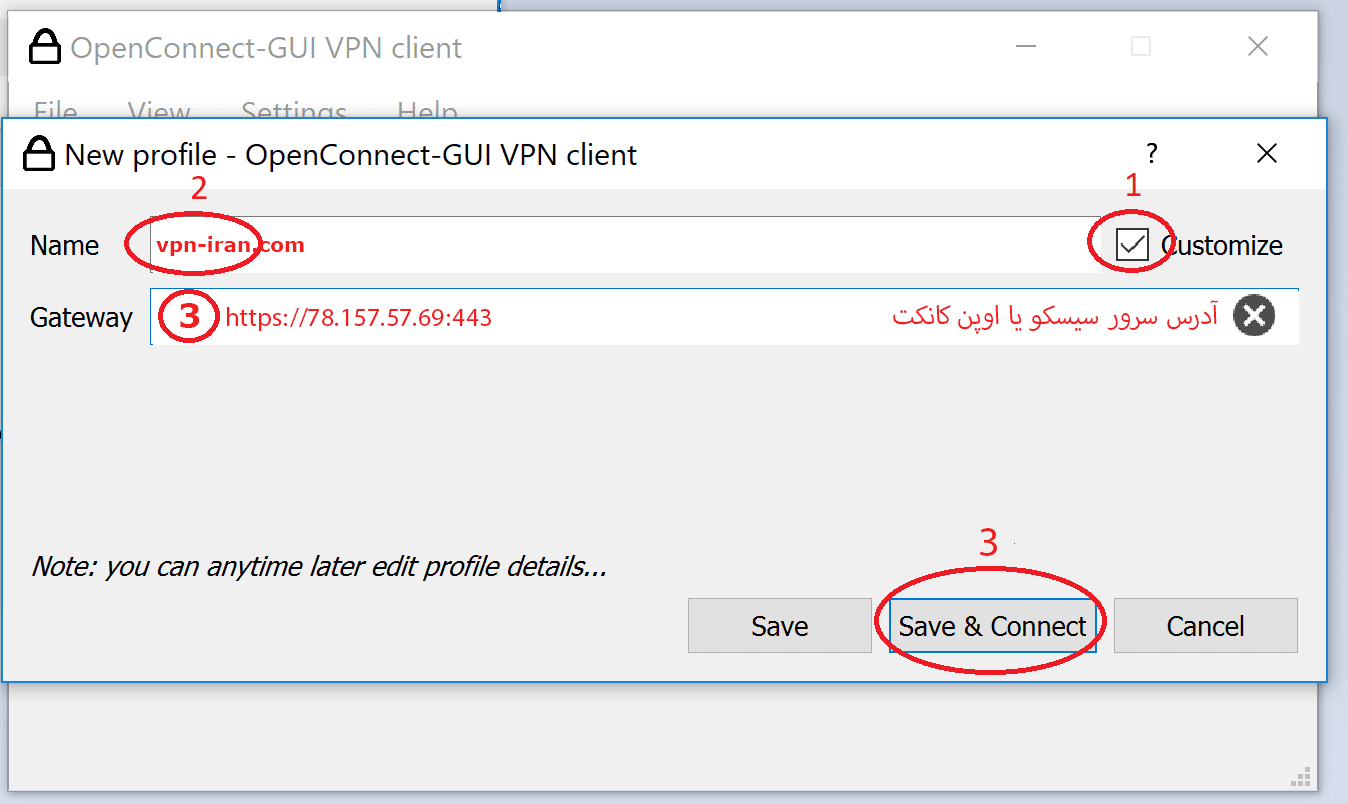
8-1: Check the Customize box.
8-2: Enter a desired name in the Name field.
8-3: Enter the server address in the Gateway field based on your subscription type, then click Save.
- Non-financial server address: Gateway: https://78.157.57.69:443
- Financial server address: Gateway: https://78.157.57.88:443
Step Nine: Click on the Accurate information option.

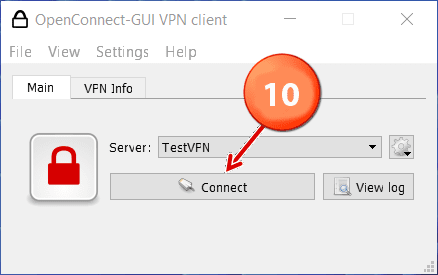
Step Ten: Now, click the Connect button.
Step Eleven: Enter the Username and Password (these were sent to you after your purchase).
Finally, when the lock icon turns green, your connection is successfully established, and you can begin using your subscription.